




An order confirmation tells customers what they bought. Sometimes, they also need to know what to do next: how to care for an item, where to find instructions, or how to contact your team. In this tutorial we’ll explain how to send a custom email after order in WooCommerce store.
You can send that information as a separate email with ShopMagic Free. This guide shows you how to create a message that runs when an order is marked completed, using a care-instructions email as an example.
First, check whether WooCommerce’s built-in email settings already cover your needs. Then choose the right moment for your message and set up the automation.
What emails does WooCommerce send after an order?
WooCommerce includes customer notifications such as processing and completed order emails. The New order notification is a store notification, not the name of the customer’s order confirmation.
Go to WooCommerce → Settings → Emails to review the notifications available in your store. You can adjust individual email settings, including the subject, heading, and additional content. If you simply want to add the same short instruction to an existing notification, that may be enough. See the WooCommerce email settings documentation.
Use a separate ShopMagic email when the information deserves its own message, with its own subject and content, triggered by a store event. The example below supplements your existing WooCommerce emails. It does not edit or automatically replace them.
Choose when to send your custom email
“After an order” can mean after creation, payment, or completion. These are different moments.
| Moment | ShopMagic event | What to consider |
|---|---|---|
| An order is created | New Order | Creation does not confirm payment. Do not use it as proof that a customer has paid. |
| WooCommerce records payment | Order Paid | Test the event with the payment methods used by your store. |
| An order moves to processing | Order Processing | In the standard WooCommerce flow, this means payment has been received and fulfillment is pending. |
| An order is marked completed | Order Completed | Use this when your message belongs at the completion stage of your store’s workflow. |
These events belong to the ShopMagic core plugin. In WooCommerce, completed does not mean “payment has just arrived” or “the parcel has been delivered.” It describes a fulfilled order. Review your store’s order status workflow before choosing a trigger.
Example: send care instructions when an order is completed
Imagine a homeware store whose products share the same care instructions. Instead of sending the guide manually, the store creates a separate message for customers when their orders are marked completed.
The automation is:
Order Completed → Send Email → customer’s email address
It uses the free version of ShopMagic without a delay or extra add-on. The guide is linked from the message, not attached as a file. Because we are not adding filters, the message applies to every order that triggers this automation. Use instructions relevant to all those customers.
You do not have to choose a separate message for a short, universal instruction. Adding it to an existing WooCommerce email is also a valid option. Here, the store wants the care guide to have its own subject and space rather than placing it below the order summary.
Already installed? Start with the automation setup below.
Set up the email in ShopMagic
1. Install the free plugin
In your WordPress dashboard, open Plugins → Add New, search for ShopMagic, and install and activate the plugin by WP Desk. WooCommerce should already be active.
You can also find ShopMagic on WordPress.org. You do not need ShopMagic PRO for this example.
2. Create the automation and choose its event
Open ShopMagic → Automations → Add New. Give the automation a name you will recognize, such as Care instructions after order completion.
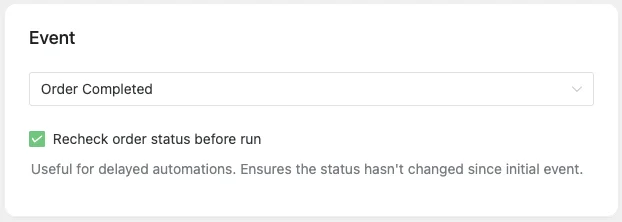
Select Order Completed as the event. Leave filters empty for this first example. That means the guide must be suitable for every order reaching that event, not just orders containing a particular product.
Keep the automation unpublished while you prepare its message.
3. Add the email action
Add an action and choose Send Email. This sends your message using a WooCommerce email template. ShopMagic also offers plain-text and raw-HTML actions, but you do not need them for this setup. See the available email actions.
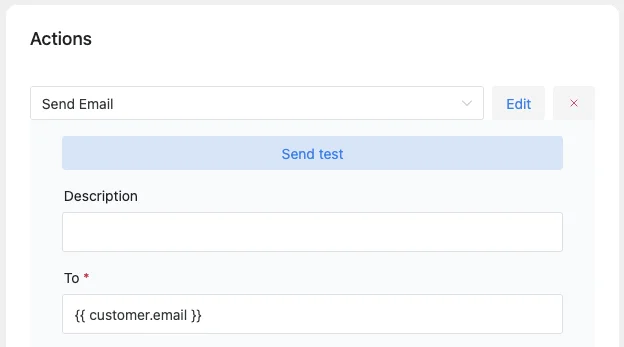
In the recipient field, insert the customer-email placeholder:
{{ customer.email }}Set the subject to:
Care instructions for your purchaseAdd the following message, replacing the example links with your own guide and contact page. In the visual message editor, make the guide URL a clickable link.
Hi {{ customer.first_name }},

Your order has been marked complete in our store.

When your items arrive, these instructions will help you care for them.
Please read the guide before first use:

https://example.com/care-guide/

If you have questions, you can contact our team here:
https://example.com/contact/

Thank you for choosing {{ shop.title }}.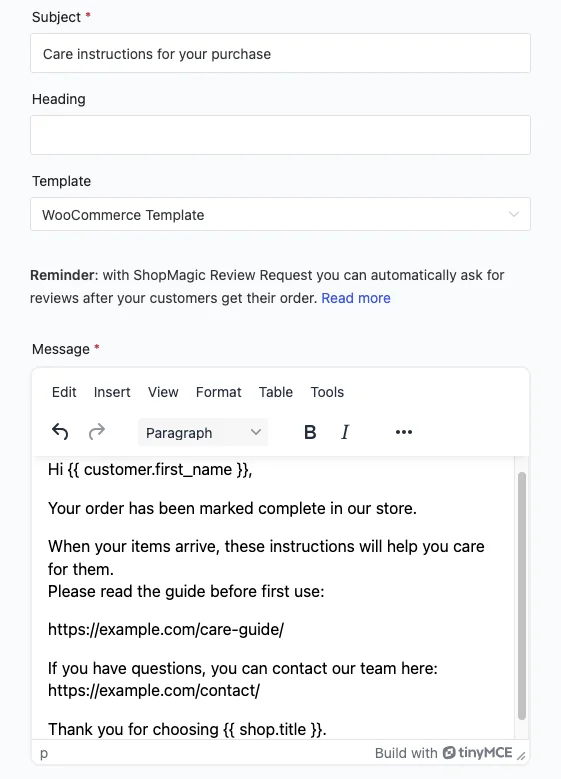
ShopMagic replaces these placeholders with customer and store data. Insert them from the available placeholder list and check the resulting message. The core placeholder reference includes customer.email, customer.first_name, and shop.title.
4. Test before sending to customers
Use ShopMagic’s Send test feature to inspect your message first. A test message is not recorded in Outcomes, and it does not prove that your chosen order event works. See the testing documentation.
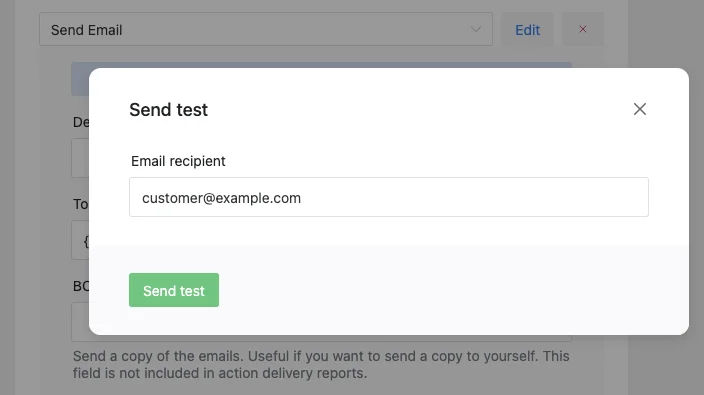
Then test the full workflow on a staging store using an order with an email address you control:
- Publish the automation on that test store.
- Change a test order to completed.
- Check the recipient, subject, greeting, guide link, and contact link in the received email.
- Check the automation’s result in ShopMagic’s Outcomes logs.
- Check the standard WooCommerce notification too, so the two messages do not repeat the same information.
Also test a guest checkout if your store supports it. Before enabling the automation on your live store, check what happens if an order moves out of completed and then back into it. Do not assume the message can only run once per order.
Outcomes logs help you inspect execution and errors. A successful result is not proof of inbox delivery: check the actual mailbox as well.
5. Enable the automation on your live store
After testing, publish the automation on your live store. Keep the standard WooCommerce emails enabled for this supplementary-message example. Review the first real executions to confirm that the message fits your store’s workflow.
Frequently asked questions
Does ShopMagic replace the WooCommerce order confirmation?
Not in this example. You are adding a separate message with useful instructions. The standard WooCommerce notifications remain in place. Here you’ll find out how to replace the order confirmation email in WooCommerce.
Can I send the message as soon as an order is placed?
Choose New Order if the information is appropriate before payment confirmation. For information that should only be sent after payment or fulfillment, choose and test an event matching that stage. Changing the trigger changes the meaning of the automation.
Can I send the email a few days later?
Deliberate time delays require the Delayed Actions add-on in ShopMagic PRO. The Free example above does not configure a delay.
Will installing ShopMagic fix emails that are not arriving?
ShopMagic controls the automation and message. Delivery also depends on your store’s email setup. Check the execution logs and mailbox before treating missing emails as a content or trigger issue. The email troubleshooting guide explains the distinction.
Give customers the information they need next
Start with one useful message and an event that matches your store’s workflow. Give your instructions their own subject and space, and let ShopMagic run that communication instead of preparing it manually for each order.
